Figure 1
STEP 1: Load head04.lwo into Modeler. (If you did not follow the steps in the previous section and just want spline patching experience, you may load head04.lwo from the CD-ROM).
With one exception, everything here should be Patched with settings of 2-by-2 with Knots turned on for both Perpendicular and Parallel. We'll Patch the three-sided boundaries (including that one exception) first.
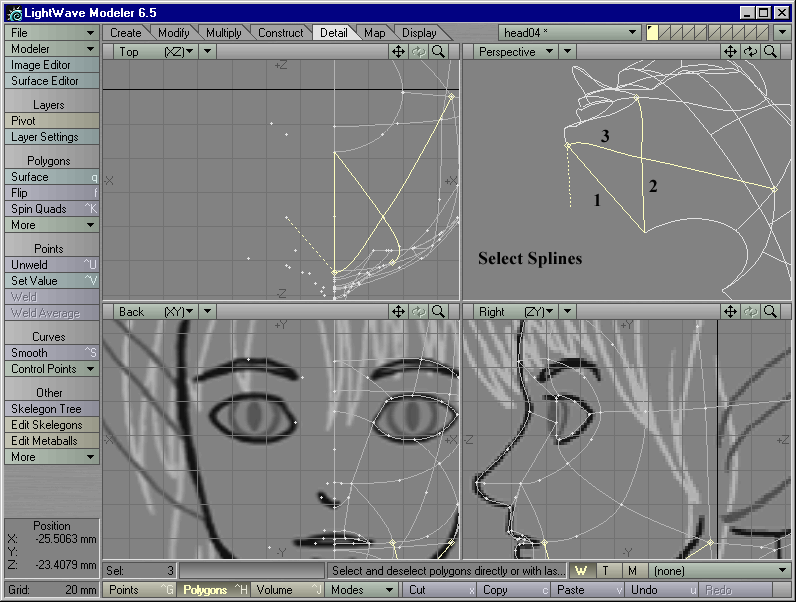
STEP 2: Select the three splines that define the underside of the chin in the order shown in Figure 1. Type Ctrl-f to activate the Patch tool. Patch this area with settings of 2-by-2 with Knots turned on for both Perpendicular and Parallel. The triangles should point towards the neck, away from the chin spline (which was selected last).
Figure 1
Tip: With triangle patches, the order in which we select the splines will control the direction of the triangles. The triangles will point away from the last spline selected. Another way to look at it: the first two splines selected in a triangular spline boundary form an "arrow" indicating the direction that the triangles will point when patched.
STEP 3: Select the three splines that define the upper lip area
in the order shown in Figure
2; type Ctrl-f to activate the Patch tool. Patch this area
with settings of 2-by-2 with Knots turned on for both Perpendicular and
Parallel. The triangles should point into the corner of the lip, away from
the mouth profile spline (which was selected last).
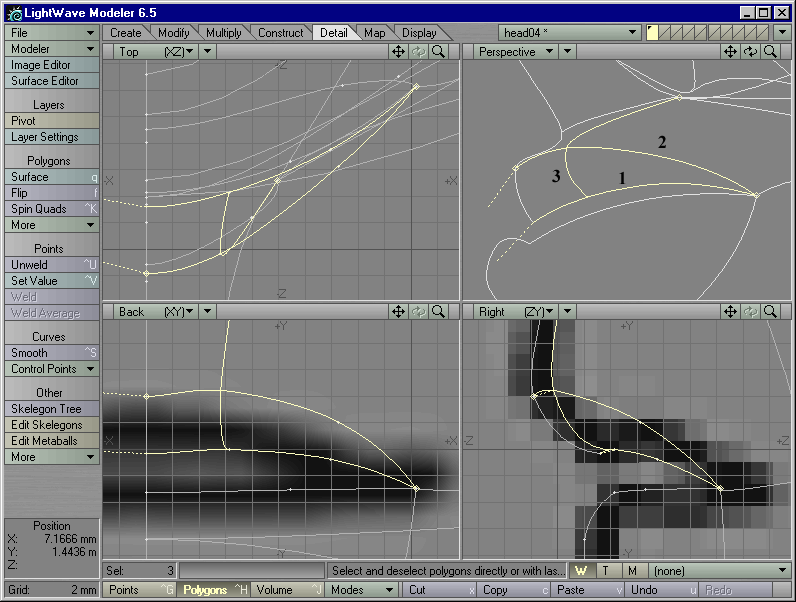
Figure 2 |
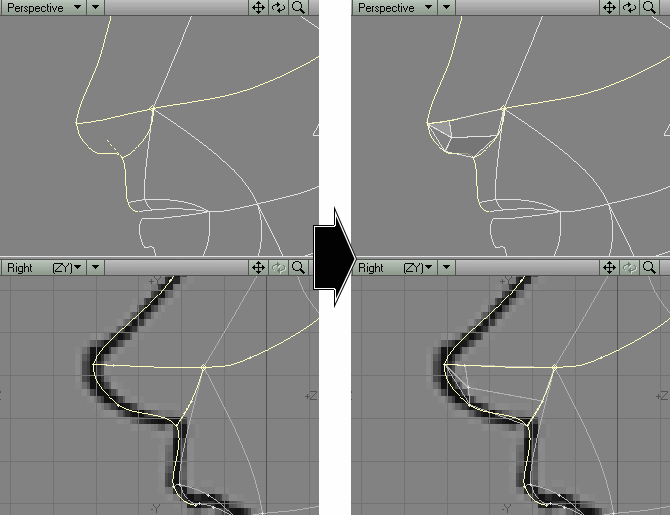
Figure 3 |
STEP 4: Select the three splines shown in Figure 3 that define the underside of the nose. Patch this area with settings of 2-by-2 with Knots turned on for both Perpendicular and Parallel. (If you selected them in the correct order, the patch will look like Figure 3. If not, hit u to Undo the Patch operation, reselect the splines in a different order, and try the Patch operation again).
STEP 5: Select the three splines that define the lower lip area, in such a way that the triangles will go into the corner of the lip. Type Ctrl-f to activate the Patch tool. Patch this area with settings of 4 for Perpendicular and 2 for Parallel, with Knots turned on for both Perpendicular and Parallel. (Figure 4)
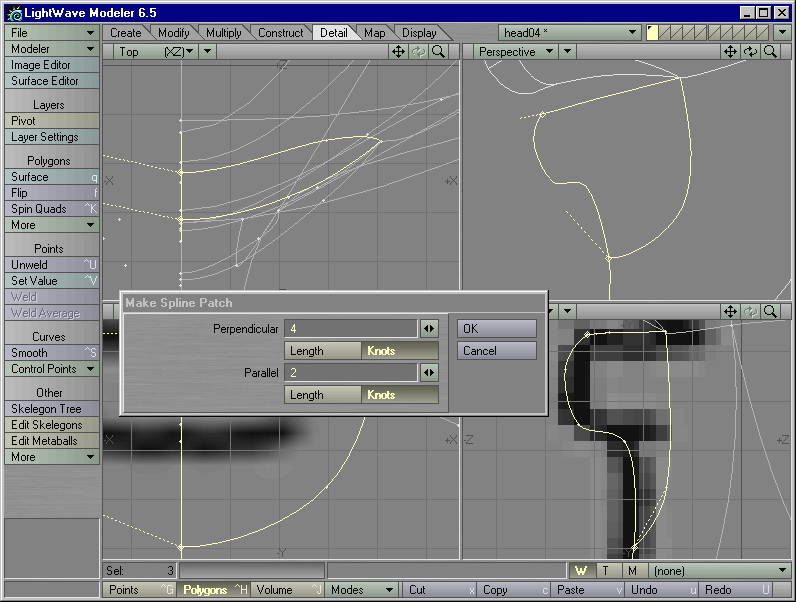
Figure 4
Note: If you chose to add an extra spline that divides this region into two triangle patches, you may skip Step 5 and just patch those triangle patches with settings of 2-by-2. Just remember to select the spline opposite of the mouth corner last for each patch, so that the triangles will be in the right place.
STEP 6: Patch everything else with settings of 2-by-2 with Knots turned on for both Perpendicular and Parallel.
STEP 7: Deselect everything. Type w to activate Polygon Statistics. Use this panel to select all the Faces in this layer. Cut and Paste these Faces to an empty layer. Type m to Merge all overlapping points. It should look like Figure 5.
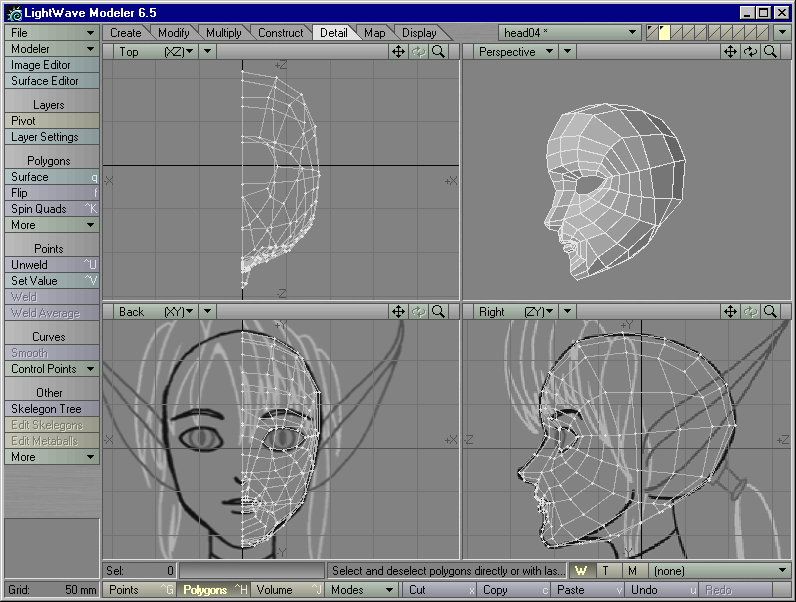
Figure 5
STEP 8: Save this object as head05.lwo.