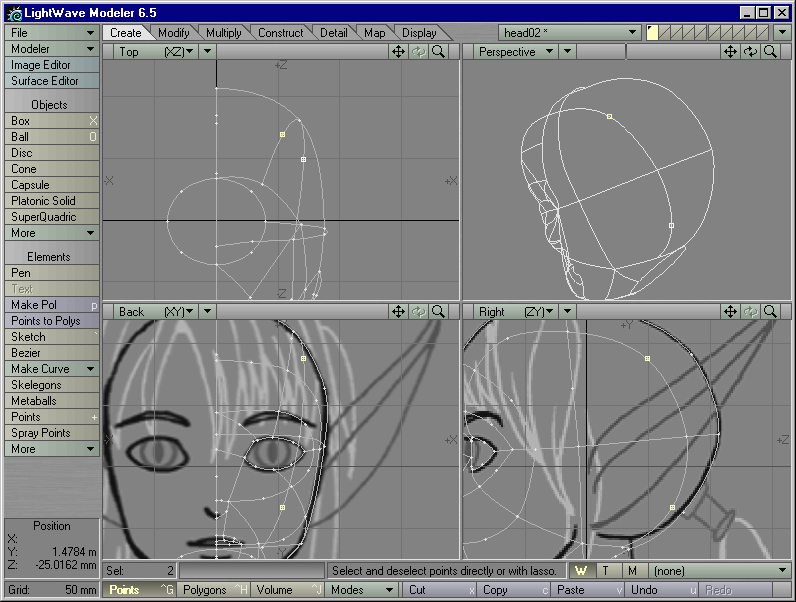
Figure 1
Figure 2
STEP 1: Load head02.lwo into Modeler. (If you did not follow the steps in the previous section and just want experience in fleshing out a spline cage, you may load head02.lwo from the CD-ROM).
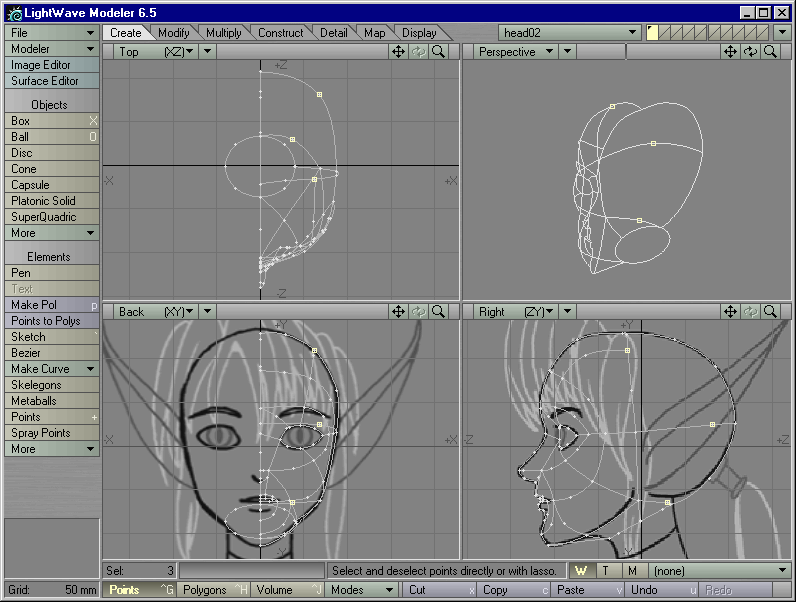
STEP 2: Select the three points shown in Figure
1 and type Ctrl-p to create
a spline.
|
Figure 1 |
Figure 2 |
STEP 3: This spline could look more rounded. Add a point to each of its two sections and Drag them until it resembles Figure 2.
Well, we could Patch this cage now, but the line of the spline we just created does not continue through the neck. We could add a spline through the neck boundary...but we have another option.
Three splines currently compose the rearmost neck boundary. Four sides are just as acceptable, so...
STEP 4: At its center point, Split the top spline of the rearmost
neck boundary into two splines. (Figure
3)
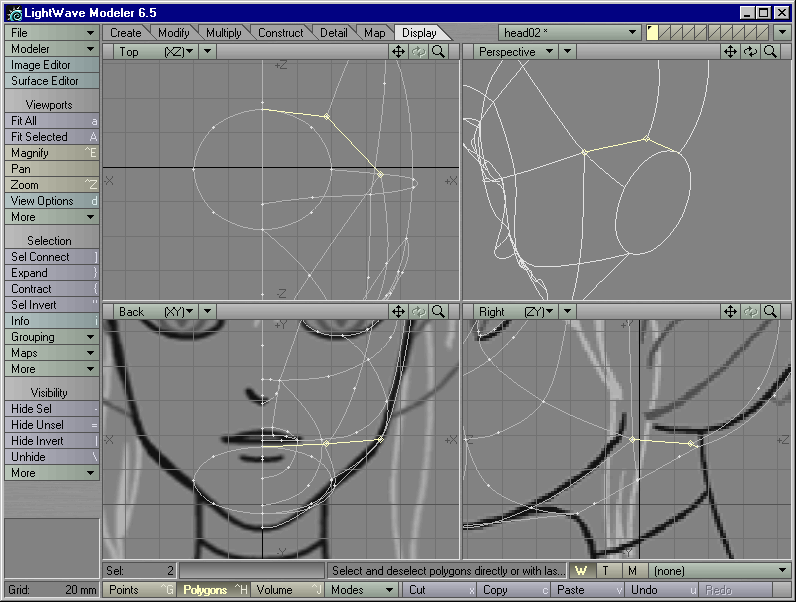
Figure 3 |
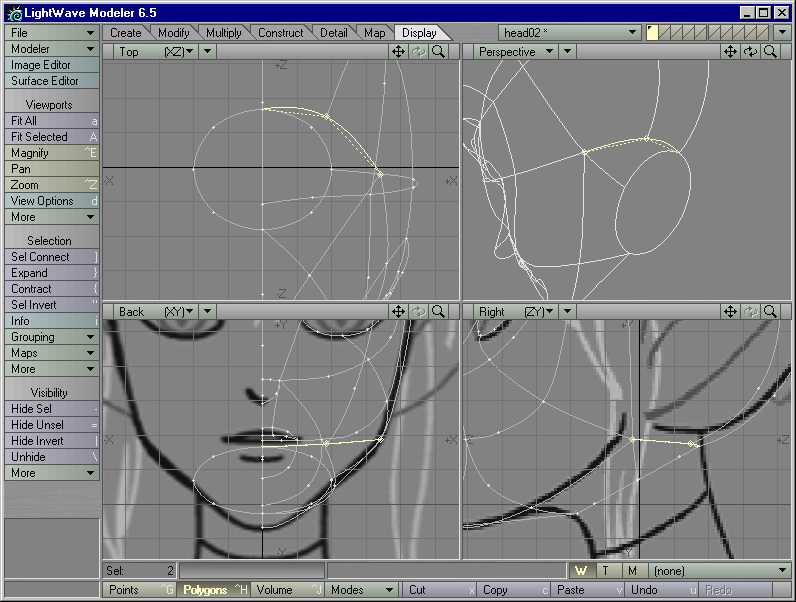
Figure 4 |
If you used the same Patch settings on every spline boundary, the patches in this area would now line up with each other. Still, it would be nice if these splines traced the same path as the original single spline.
STEP 5: Type Ctrl-s to smooth the two splines created in the last step. (Figure 4)
We're not done yet. While we could still Patch this cage, the plan is to Patch it with settings of 2-by-2 all over (save for the triangle patch that defines the lower lip), so as to keep the face geometry as smooth and as simple as possible. While this is good for the face, the top of the back of the head might not have enough geometry in it to stick to the lines of the model sheet. It might end up too rounded, with the loosely anchored SubPatches pulling into the head.
We could just remember to patch this area and the triangle area bordering it with 4-by-2 patches...but that would result in two more polygons than we need in that triangle area. Let's explore an alternate route.
STEP 6: Select the spline defining the rear profile of the head.
Add a point to the center of its upper section. Drag the other points out
until they are spaced evenly apart, and the spline traces the ink line
defining the rear of the head in the model sheet. (Figure
5)
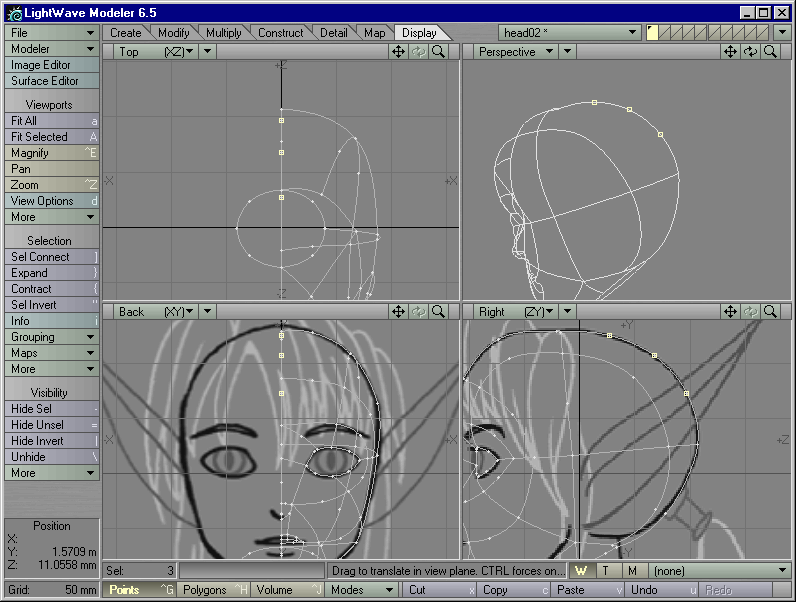
Figure 5 |
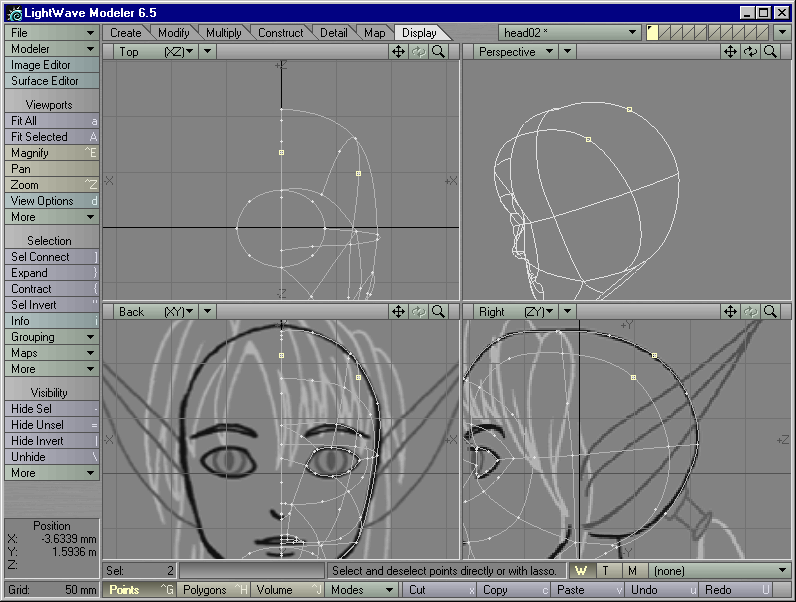
Figure 6 |
STEP 7: Select the points shown in Figure 6 and create a spline.
STEP 8: A head shouldn't flatten out back there. Add a point
to the center of the spline you created in the last step, and Drag it out
until the spline better represents the rounded contour of a head. (Figure
7)

Figure 7 |
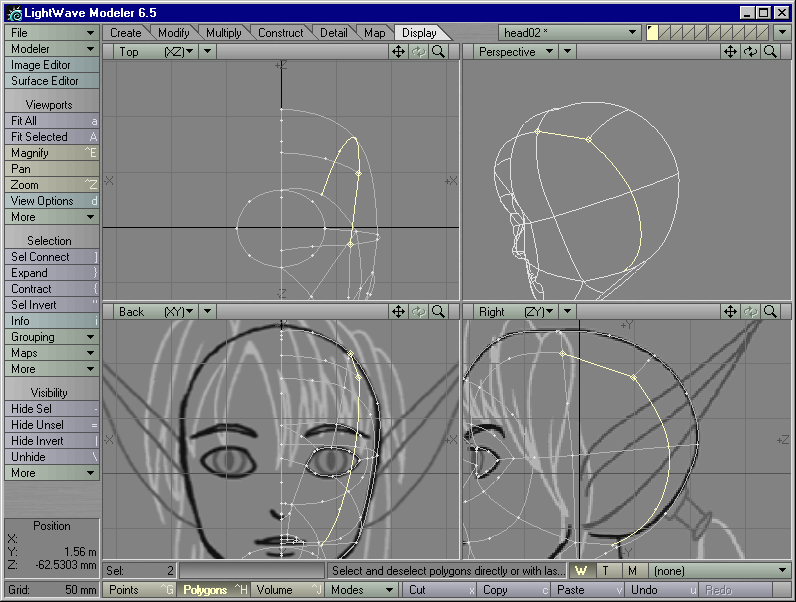
Figure 8 |
Let's make sure the patches on this cage line up easily. We'll use the same trick that we used on the rear of the neck -- by turning a three-sided spline boundary into a four-sided spline boundary.
STEP 9: Select the spline of the triangle spline boundary that runs through the outermost point of the spline you created in Step 7. Split this spline into two at the point where it touches the Step 7 spline. It should look like Figure 8.
STEP 10: Use Ctrl-s to Smooth these two adjacent splines back into the smooth curves of the original whole spline. (Figure 9)
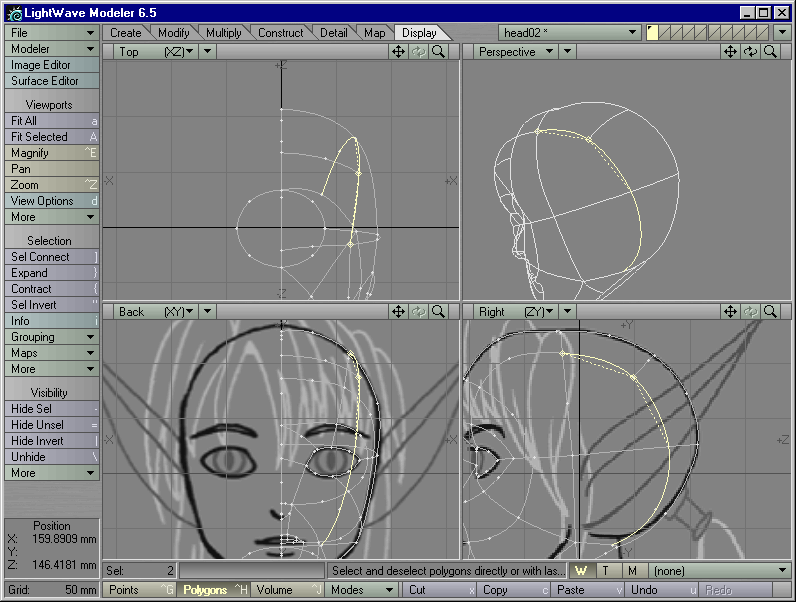
Figure 9
STEP 11: Save this object as head03.lwo.